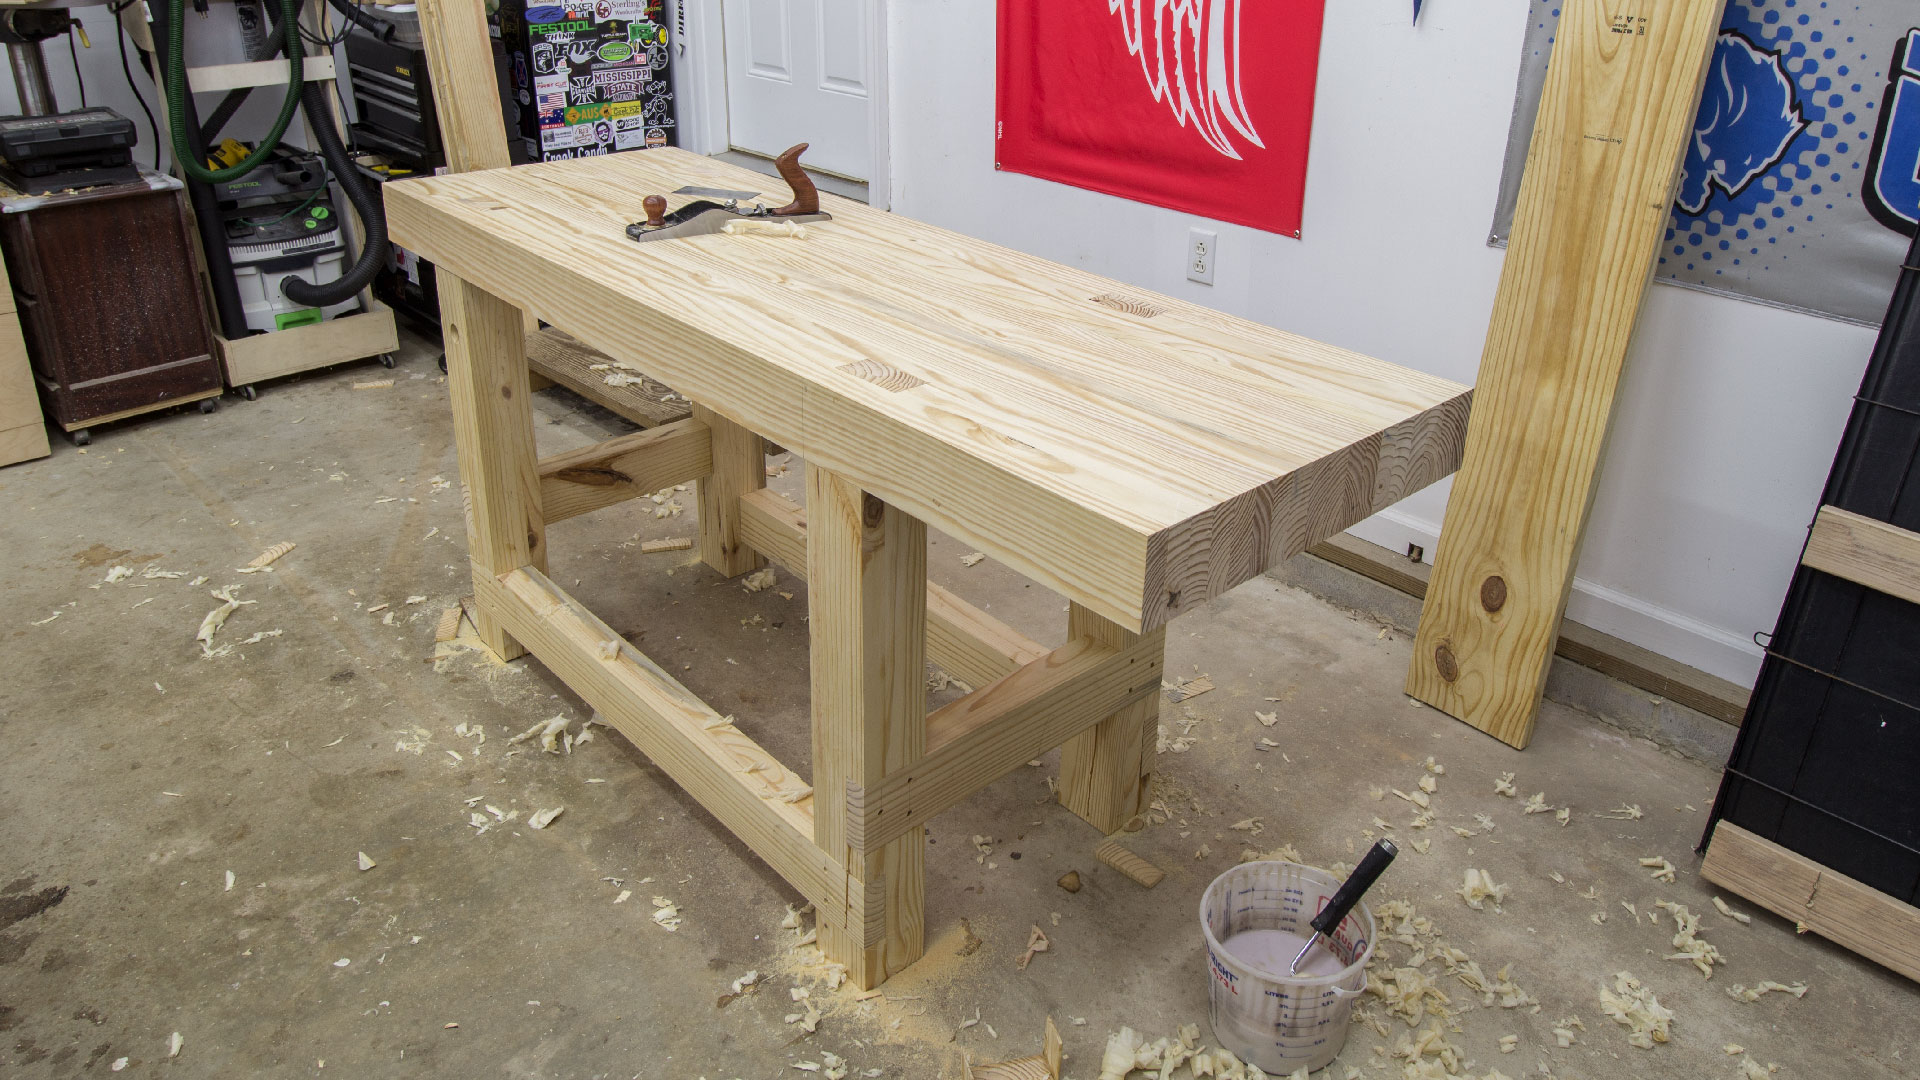

Alright, so you wanna build a woodworking bench, huh? You're in for a treat. It's like building a throne for your tools, a sanctuary for your projects, a place where sawdust is king. And the best part? You get to be the architect, the builder, the lumberjackâ€"it's a total DIY dream!
But before you dive into the woodpile, let's talk about why you even want a bench. Is it for the sheer joy of building something awesome with your own two hands? Are you tired of wobbly, rickety work surfaces? Or maybe you just want to impress your friends with your woodworking skills (and your fancy new bench, of course). Whatever your reason, a well-built bench is a serious investment in your woodworking journey.
Now, onto how you make this masterpiece. Let's break it down, step by step, like a carpenter's recipe:
1. Choose Your Wood:
- Think about what you're going to be using your bench for. Hardwoods like oak, maple, and cherry are tough and durable, perfect for heavy-duty tasks. But if you're going for a lighter-duty bench, softer woods like pine or fir will do just fine.
- Consider the look you want. Maple and cherry have beautiful grain patterns that'll make your bench stand out. Pine and fir are more budget-friendly and can be stained or painted to your heart's content.
2. Design Your Bench:
- Start with a simple plan, like a basic workbench with a top and legs. Or get fancy and add a vice, a tool tray, or even a storage drawer.
- Sketch out your design and note the dimensions you want. Remember, this is your chance to personalize your workbench, so let your imagination run wild!
3. Gather Your Tools:
- The essentials: A saw (circular saw, jigsaw, handsaw), a drill, screws, wood glue, clamps, measuring tape, and a level.
- If you're feeling fancy, you can also add a router, a planer, a sander, and some fancy woodworking chisels.
4. Cut the Wood:
- Measure twice, cut onceâ€"that's the golden rule of woodworking. Get your measurements right, and double-check before you make any cuts.
- Use your saw to cut the wood into the sizes you need for your design.
5. Assemble the Framework:
- Start with the legs and attach them to the bottom of the top using wood glue and screws.
- Make sure your legs are level and square, and that everything is nice and secure.
- If you're adding a vice or tool tray, attach those now.
6. Finish the Top:
- Sand the top smooth to remove any rough edges or splinters.
- Apply a finish, like oil, varnish, or stain, to protect the wood and give your bench a beautiful look.
7. Personalize Your Bench:
- Add a custom touch with some decorative trim, a nameplate, or even some cool metal accents.
- The sky's the limit! Let your creative juices flow and make your workbench truly unique.
Here are some extra tips to keep in mind:
Think about the weight you'll be putting on your bench: You don't want it to collapse under the pressure of heavy tools and materials.
Don't be afraid to experiment with different joinery techniques: Mortise and tenon joints, dovetail joints, and dado joints can add strength and beauty to your bench.
Most importantly, have fun! Building a woodworking bench is a rewarding experience, so enjoy the process and the satisfaction of creating something useful and beautiful with your own hands.
And remember, your bench is a blank canvas for your woodworking adventures. So get creative, get sawing, and happy building!


